It’s finished — my Tachihara 8×10 is back together, and I couldn’t be happier to see it looking like this. After taking the camera apart and working through the restoration, seeing the complete camera on the tripod is a very satisfying moment.
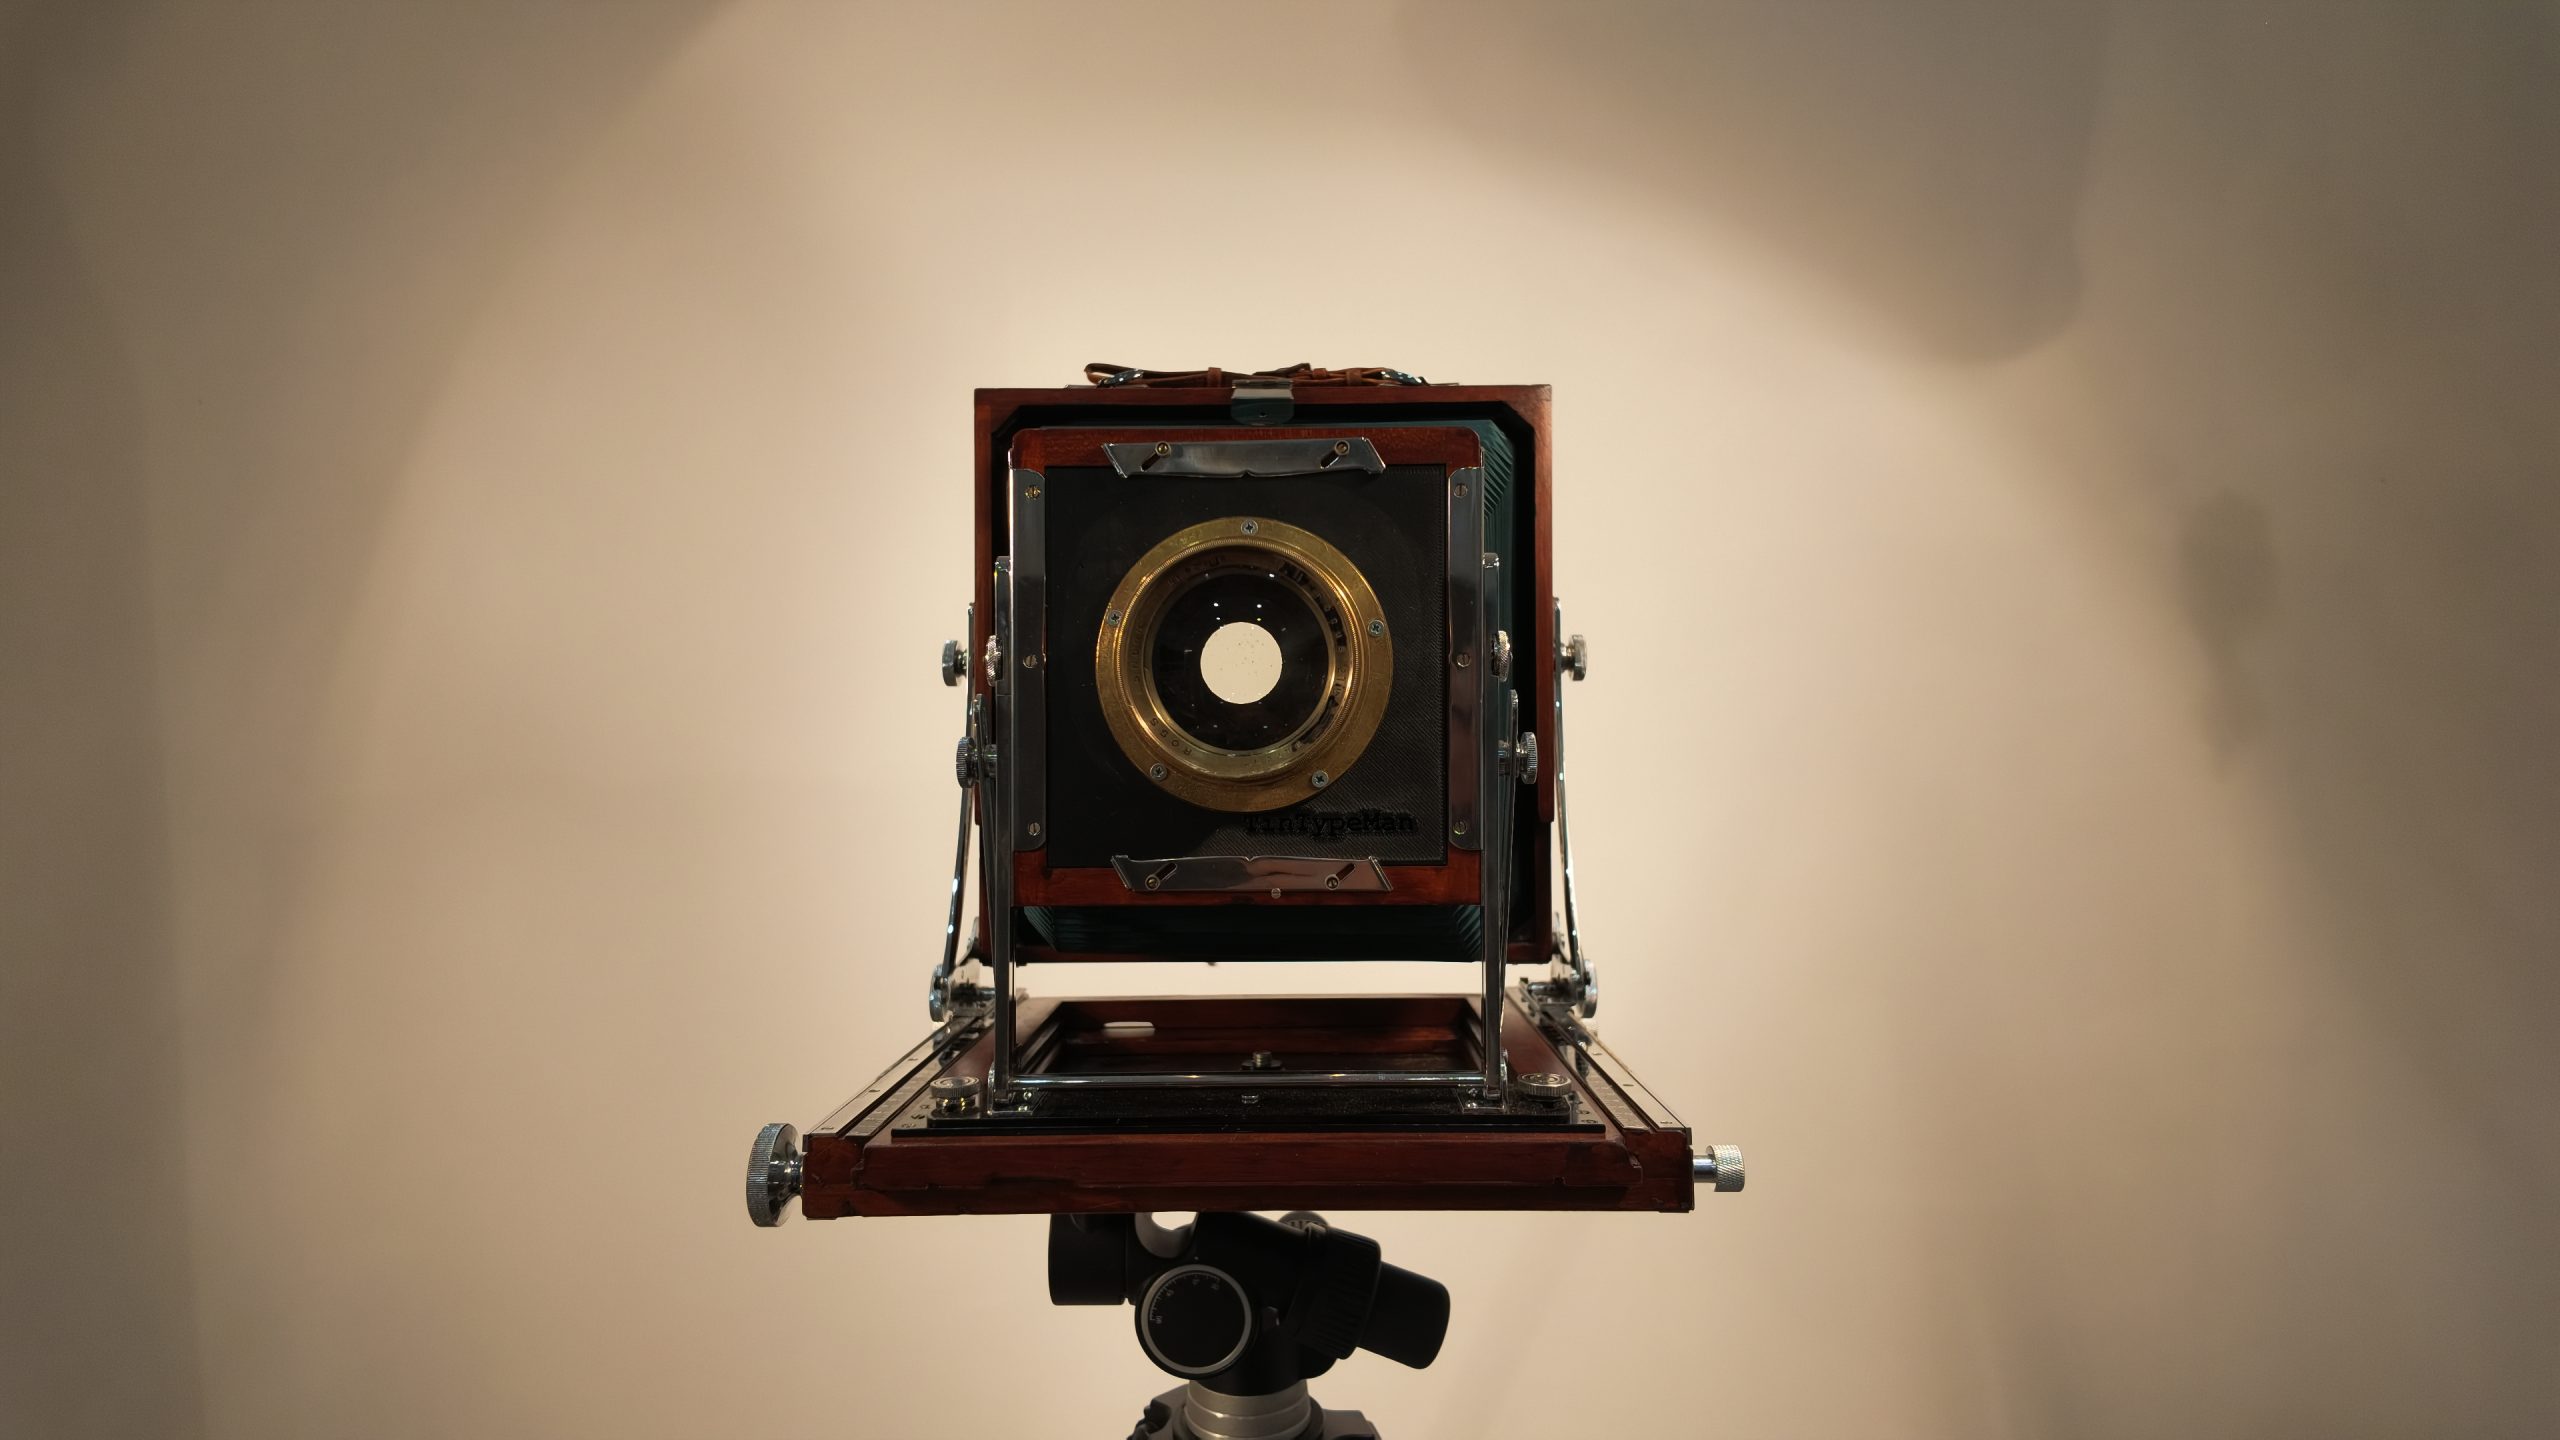
There’s something special about bringing a camera like this back to life. The wood, the metalwork and those folding bellows are all part of what draws me to large-format photography. I’m excited to have reached the point where I can stand back and enjoy the whole camera again.
Where it started
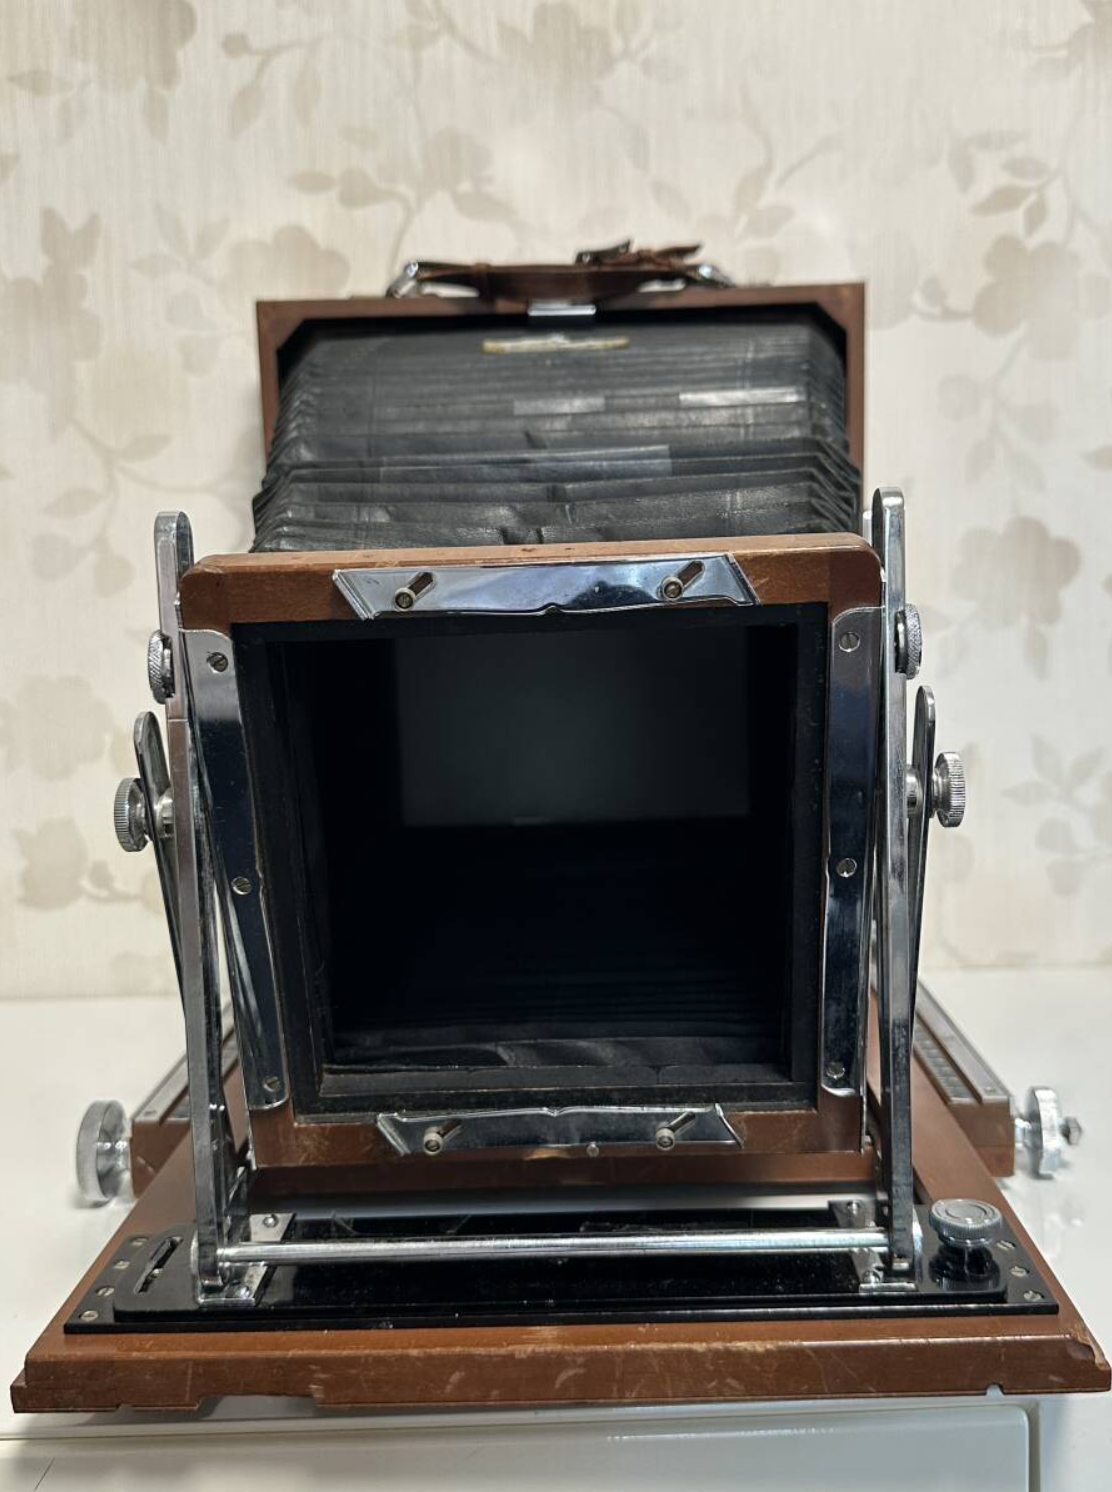
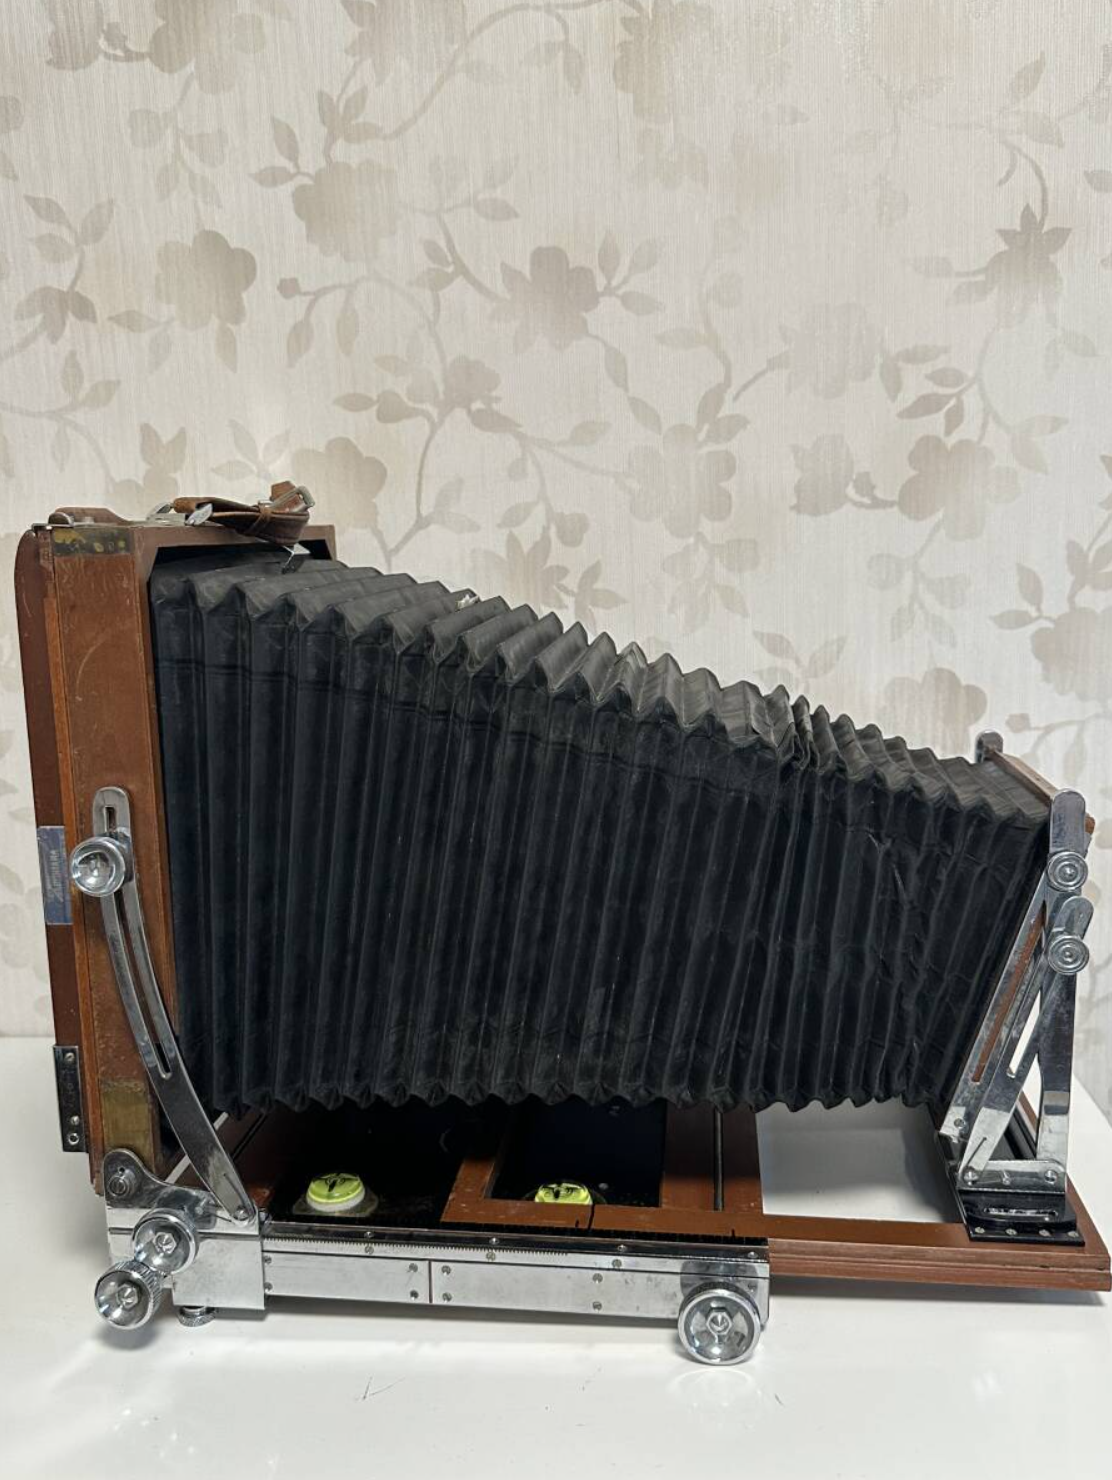
These before photographs are a reminder of how far it has come. The woodwork showed wear, the metal fittings needed attention, and the old black bellows gave the camera a very different appearance.
Back together at last
The restoration included work on the wooden components, a repair to the focusing rail, and cleaning and refinishing the metal hardware. Reassembling the front and rear standards, bellows and camera body brought all that work together.
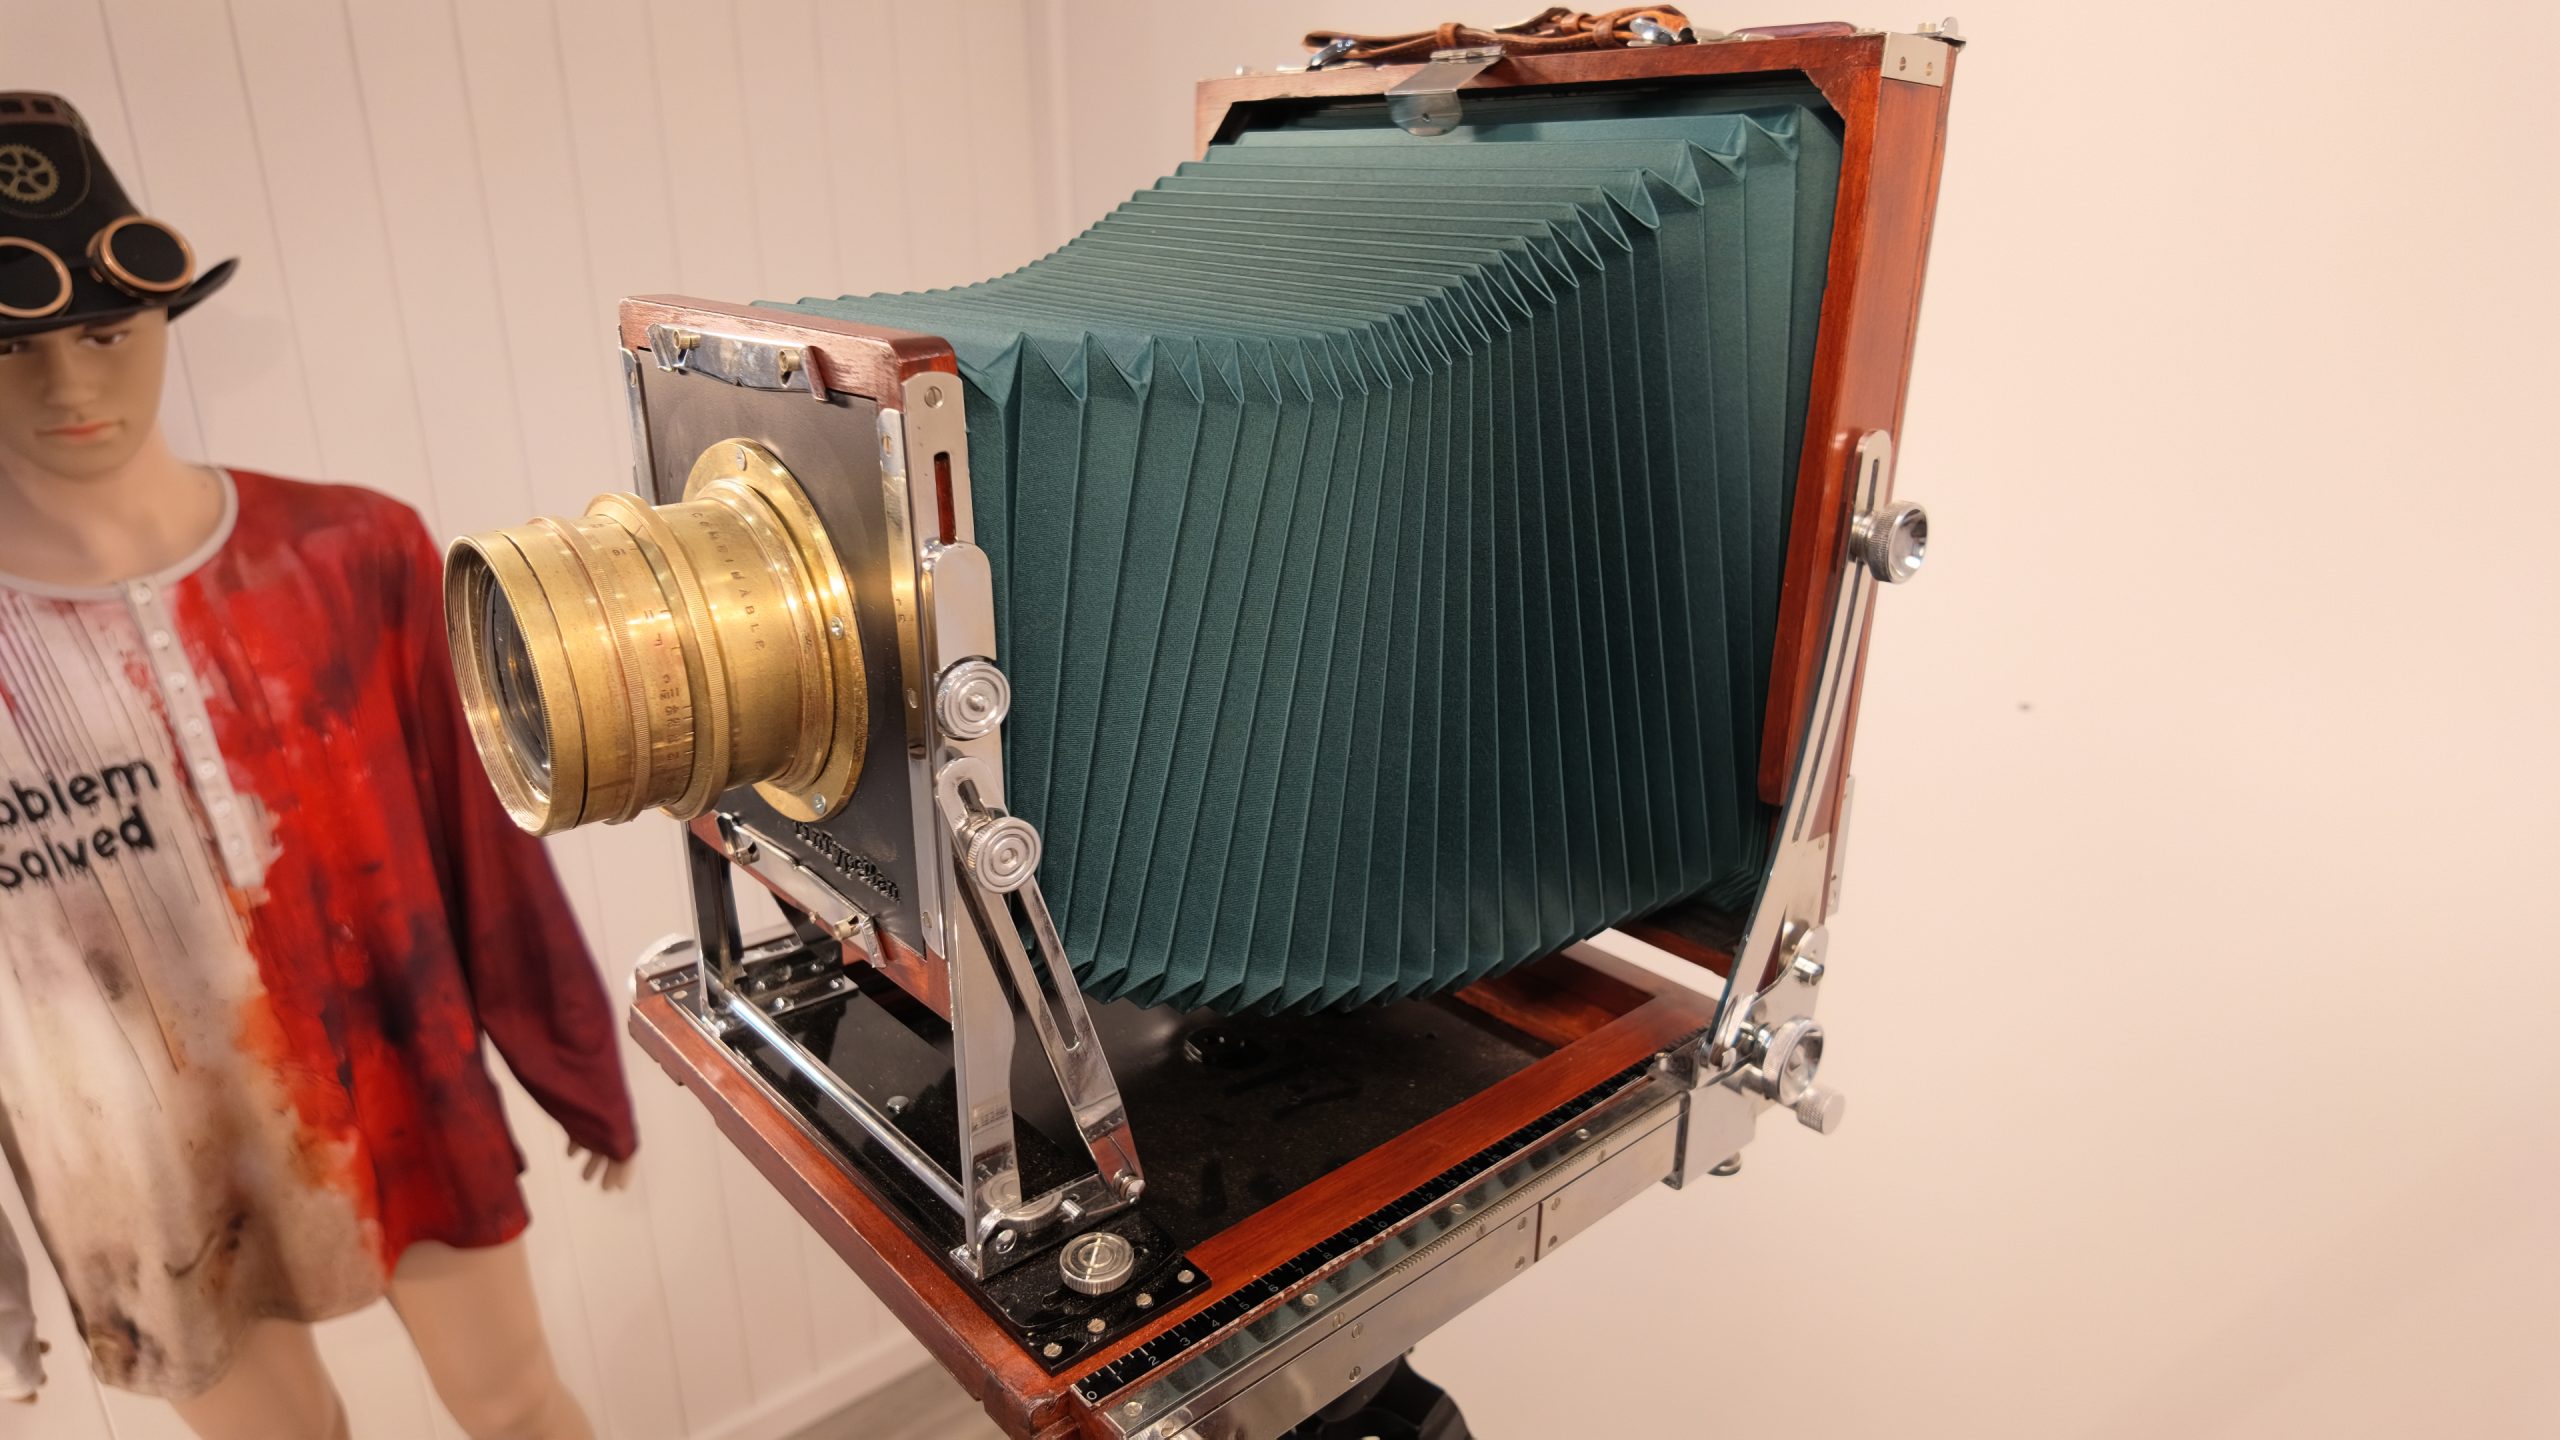
The green bellows against the timber and brass are a particular highlight for me. Looking between the before and after photographs makes the change even more apparent. I’m proud of the result, and excited about the photographs that will come next.
Watch the restoration
I’ve documented the project on the Tintypeman YouTube channel. If you’d like to see how it came together, start at Part 1 — or jump straight to Part 5 for the reassembly.
- Part 1 — Bringing a Classic Back to Life
- Part 2 — I Took My Tachihara 8×10 Completely Apart!
- Part 3 — I Took a Blowtorch to the Tachihara 8×10!
- Part 4 — Just Add Electricity to the Tachihara 8×10!
- Part 5 — I Finally Reassembled the Tachihara 8×10!
Thanks to everyone who has followed along. Sharing these workshop projects is part of the pleasure, and it feels good to finally share the finished Tachihara. You can follow Tintypeman on YouTube for more from the workshop, or browse the latest news here.
Scott
Tintypeman · Grantville, Victoria, Australia