Beginners Guide to Tintypes · Part 2 of 3
The moment an image appears is the part everyone wants to see. But that moment depends on everything that happened before it: preparing the plate, coating it evenly, getting the light right and having the darkroom ready.
In this second story drawn from my Beginners Guide to Tintypes, I want to give you a sense of the whole journey. Think of it as a tour of the process you will encounter in a workshop, with the purpose of each stage explained.
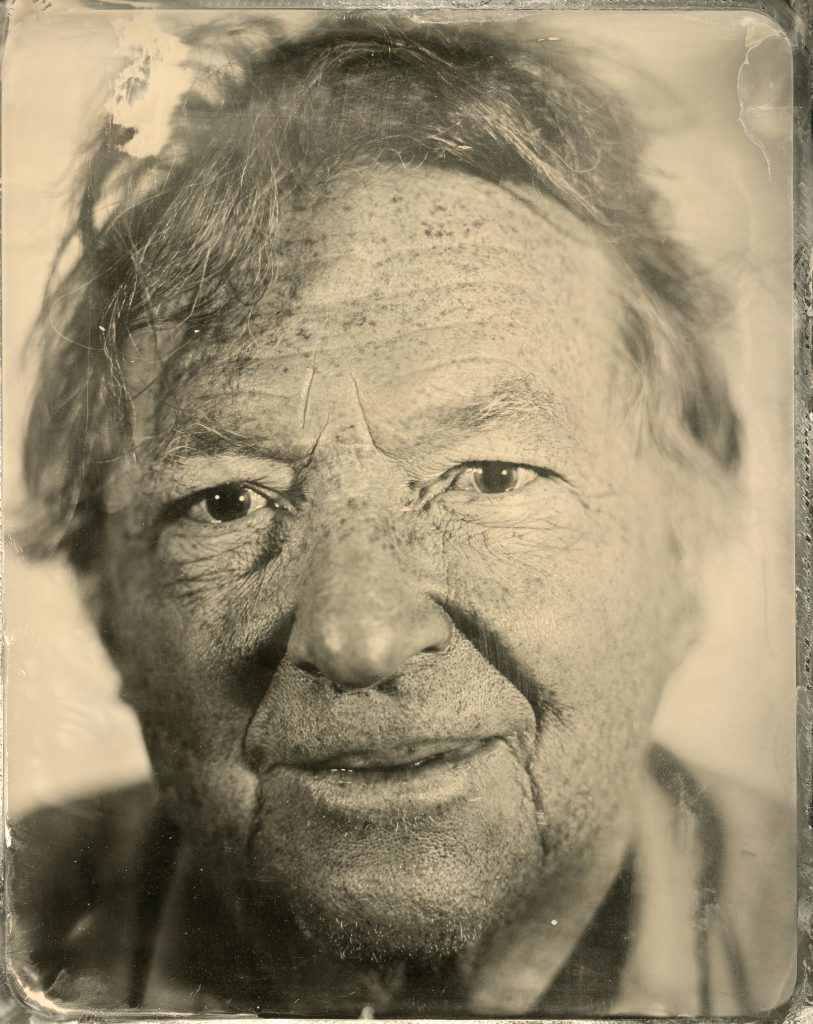
Prepare and coat
The starting point is a clean, prepared metal plate. Collodion is poured across its surface, and the plate is tilted to carry the coating across it. This is one of the physical skills that makes much more sense when you see it demonstrated.
The coated plate then goes into a silver nitrate bath to become sensitive to light. From here, it needs the appropriate darkroom conditions and a light-tight holder for its journey to the camera.
Make the exposure
Composition, focus and lighting are prepared before the sensitised plate is loaded. That preparation matters because the plate must still be wet when it is exposed and developed.
There is no single exposure time that suits every setup. The light and the way the camera is being used both matter. Learning to judge the result is part of learning the process.
Develop, fix and wash
Back in the darkroom, developer brings out the image formed by the exposure. The plate is rinsed, then fixed to remove the remaining light-sensitive material. Watching it clear in the fixer is one of the most memorable parts of making a tintype.
A thorough wash follows. It is tempting to think the job is finished as soon as you can see a picture, but the stages after development are part of caring for the photograph too.
Finish the plate
Once washed and dried, the image can receive its protective varnish. The manual covers finishing as well as the earlier stages, because a plate deserves care beyond the moment it emerges from the darkroom.
This overview gives you the sequence rather than a chemical recipe. The practical details, suitable working conditions and handling of the materials belong alongside a demonstration and the instructions for the products being used.
See the process in person
My wetplate workshop takes you through the complete process with one-to-one guidance. You create your own tintype to take home and receive a manual to revisit afterwards. It is a chance to connect the words on the page with what happens in your hands.
Explore the beginner series
1. What is a tintype?
2. From first pour to final plate — you are here
3. Your first wetplate workshop