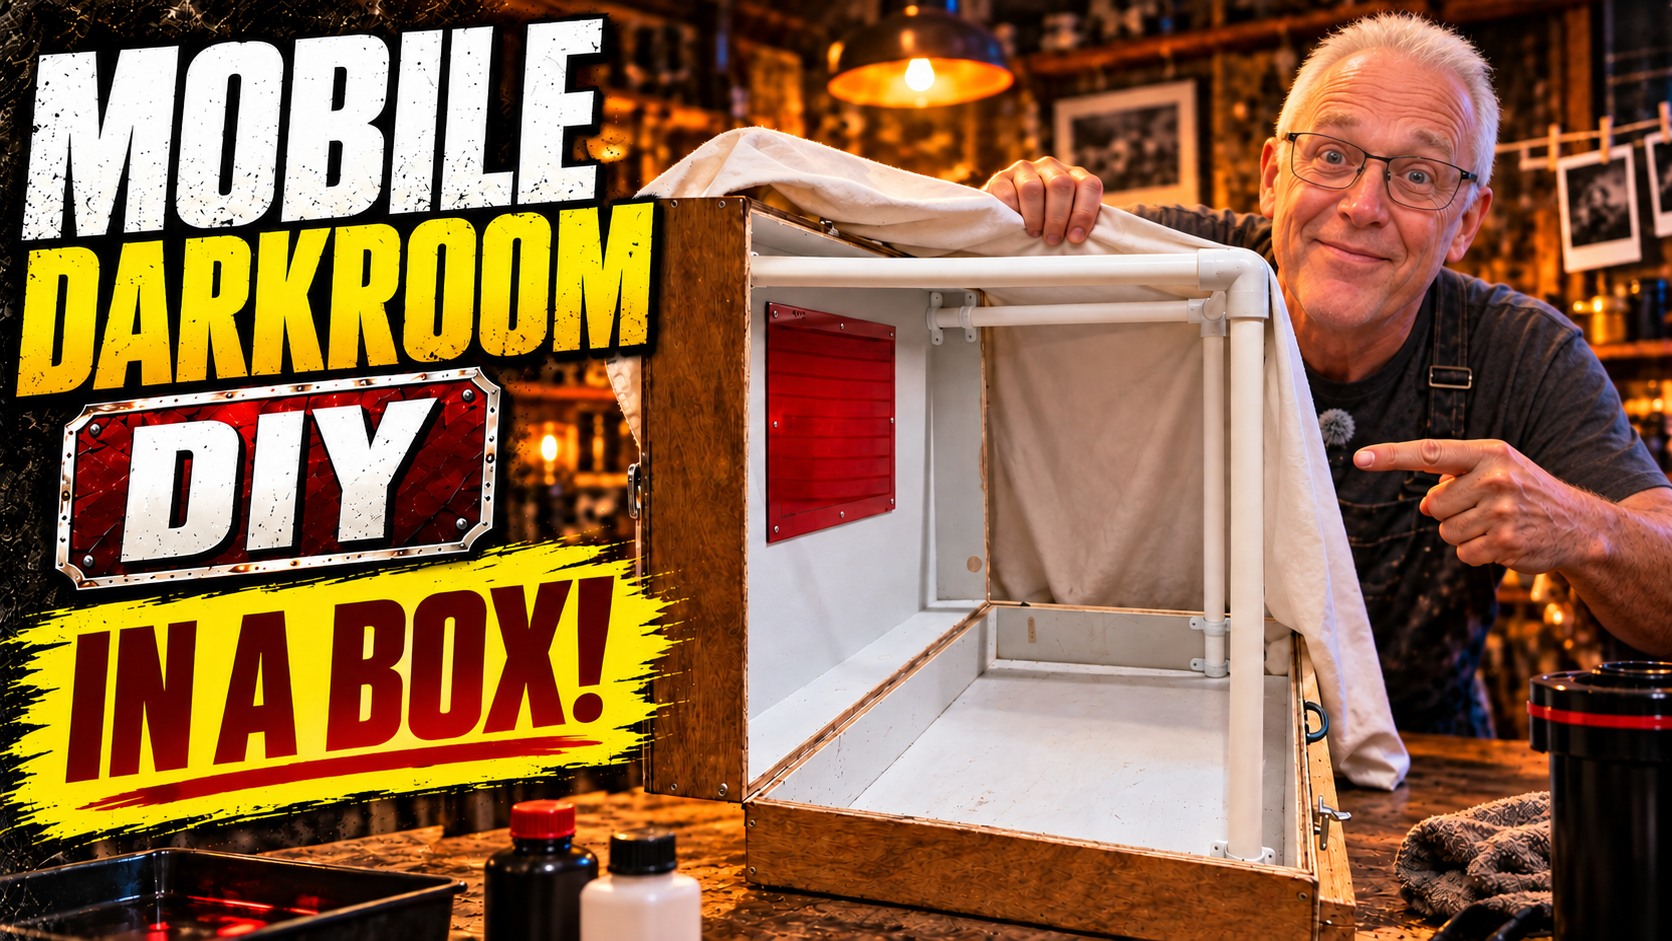
Having a darkroom beside the studio is wonderful. Taking it out to photograph a landscape is a different matter.
My permanent darkroom took most of a year to get sorted, and it does exactly what I need at home. But wet plate photography also needs a working space close to the camera when I head out on the road. That is where this rather large wooden suitcase comes in.
In my mobile darkroom video, I unpack the setup, put it together and talk through what has worked—and a few things I would change if I built it again. This is a tour of a working homemade darkroom, with the odd mistake included.
Getting to version two … or perhaps two and a half
Before this box, I used an indoor grow tent as a darkroom in the studio for about twelve to eighteen months. It did the job, but it was bulky and not something I wanted to keep setting up and pulling down on location.
My first attempt at a mobile box had armholes and a red viewing window. The idea was to stand outside and work with my hands inside. The problem became obvious in bright sunlight: I could not see properly into the dark box. A darkroom you cannot work comfortably in is not much use.
This version gives me room to get inside the fabric enclosure and see what I am doing. It has also already been slimmed down. The original box was roughly twice as thick, and carrying it around soon persuaded me that it needed a diet.
A darkroom that packs into its own box
The main case is made from marine plywood, with a piano hinge along the back. Black tape over the outside of the hinge helps keep light out, and plastic straps support the open lid. I had tried pneumatic supports earlier, but the straps are a simple solution.
Closed, the box is approximately 870 mm long, 600 mm wide and 220 mm deep. Those are the dimensions of this particular setup, rather than a set of cutting plans. There is enough room inside for the frame, fabric and clips to pack away together.
The plywood is 10 mm thick. It is sturdy, but there is no getting away from the weight. If I were starting again, I would look at thinner material—perhaps 6 mm for the top and bottom—and see where I could make the whole thing smaller and lighter.
An old suitcase might be another starting point. I have not built that version, but it is an idea worth considering before making an entire case from scratch.
Plumbing pipe and a trip to Spotlight
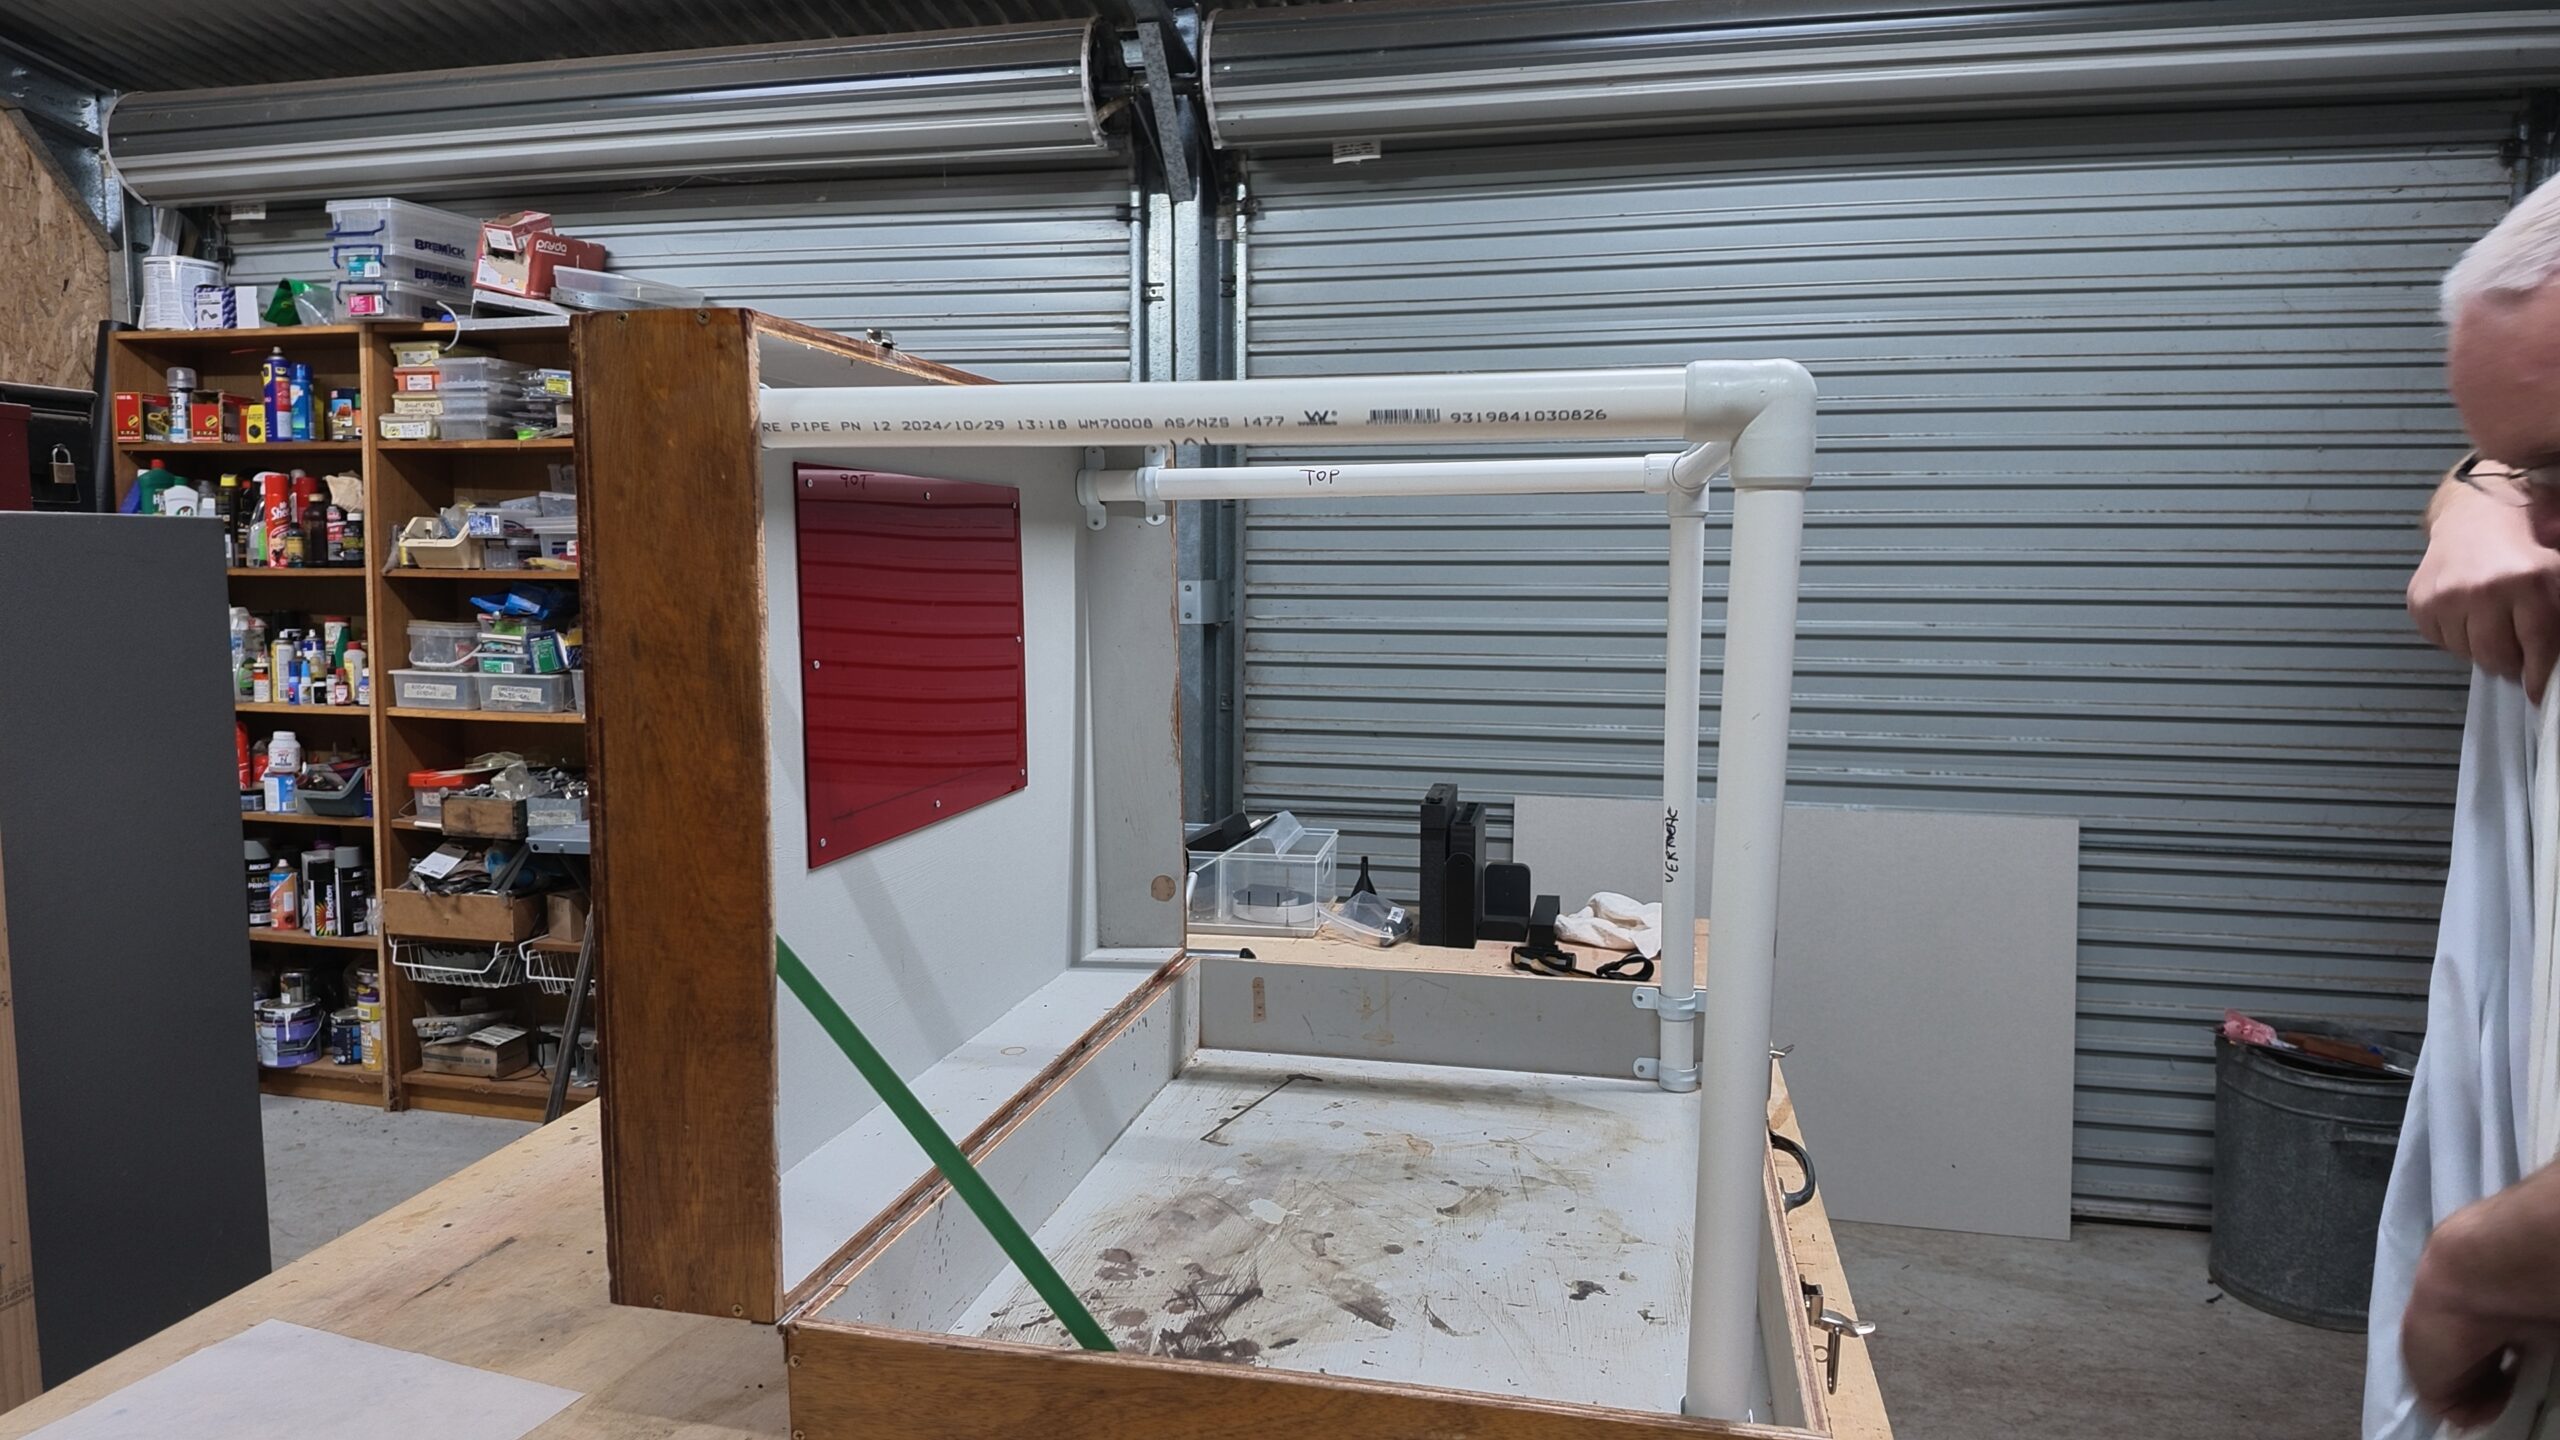
The frame is made from PVC pressure pipe and fittings. Uprights, corner pieces and crosspieces fit together above the open box, with hooks and clips helping hold everything in place. I have labelled the vertical pieces to make assembly a little less of a guessing game.
Once the frame is together, the fabric goes over the top and is clipped into position. Assembly only takes a couple of minutes once you know which piece goes where.
The fabric came from Spotlight, with help from my wife. I am much more at home in Bunnings, so that part of the project needed some assistance. It is a thick, light-blocking fabric in an off-white colour. I cannot give you its exact product name, but the fabric purchase, including some extra material, was around $50. That was the fabric bill, not the cost of the complete darkroom.
Working inside
There is room for two 8×10 trays, with a ledge at the back for the bottles I need while working. I use the setup for 4×5 and 8×10 plates. I have also worked with 15×12 plates in it, although that is getting rather unwieldy.
For illumination, I use a red head torch. Having the light move with me is useful when I am working in the enclosure.
One feature that sounded better on paper was the little red Perspex viewing window at the back. I fitted it so people could look in and see what was happening. In practice, the darkroom usually sits on the car’s tailgate, which makes the back difficult to reach. It is there, but it hardly gets used.
That is one of the useful things about taking a homemade setup out and actually working with it: you quickly find out which features earn their place.
The handle I forgot to measure
Here is a small detail worth remembering if you are building something to fit in your car: measure it with the handle attached.
I did not allow quite enough clearance. The case is only about 10 mm too tall to travel upright in the space I had in mind, so it has to lie flat instead. It still fits, but that tiny oversight dictates how I pack the car.
Between that and the weight, my advice from this build is simple: think about carrying, loading and storing the darkroom as carefully as you think about working inside it.
The box is only part of the kit
I carry plates and chemicals separately in a rugged storage box. Then there is the water, which is one of the biggest practical considerations when taking wet plate photography away from the studio.
I take a couple of 10-litre containers for washing and make provision to collect used water to take away for appropriate disposal later. The darkroom can fold neatly into a case; the rest of the process still needs space in the car.
Packing the darkroom itself is simply the setup in reverse. The clips come off, the fabric folds away, the frame comes apart and everything goes back inside the box.
What I would change next time
This darkroom works, and that matters more to me than having a perfect-looking piece of equipment. It lets me take the process beyond the studio and gives me a practical space to work beside the camera.
If there is a next version, the priorities will be less weight, a slightly smaller case and a closer look at how it fits in the car—with the handle included this time.
You can find more of my wet plate projects and workshop videos on the TinTypeMan YouTube channel. If you are new to the process, start with my beginner’s guide to tintypes, or explore the workshops if you would like to try it for yourself.
Scott
TinTypeMan · Grantville, Victoria, Australia